Summer might be coming to an end but the wonderful flavor of summer squash doesn’t have to become a distant memory. It’s easy to freeze our yellow squash for recipes you’ll make later this year.
If you’re pressed for time, don’t sweat. The hands-on part takes no more than 10 minutes.
Here’s how to easily and safely freeze summer squash:
Start by bringing a pot of water to a boil. Since we’re freezing, this can be any saucepan or stockpot. A canning pot isn’t needed.
Using a mandoline, food processor, or your favorite vegetable knife, slice the squash into evenly sized rounds (disks)… about 1/2 an inch thick.
Once the water is boiling, get a large bowl and fill it half full with ice water. Set this on the counter near the stove so you’ll be able to quickly transfer the squash from the pot to the bowl.
Add the sliced squash to the boiling water and leave it for 3 minutes. This is a great time to clear a flat spot in the freezer.
After 3 minutes remove the squash using a slotted spoon and quickly dunk it in the ice water. Give it a few minutes to cool, then transfer it to a strainer or lay it out on a kitchen towel and pat dry.
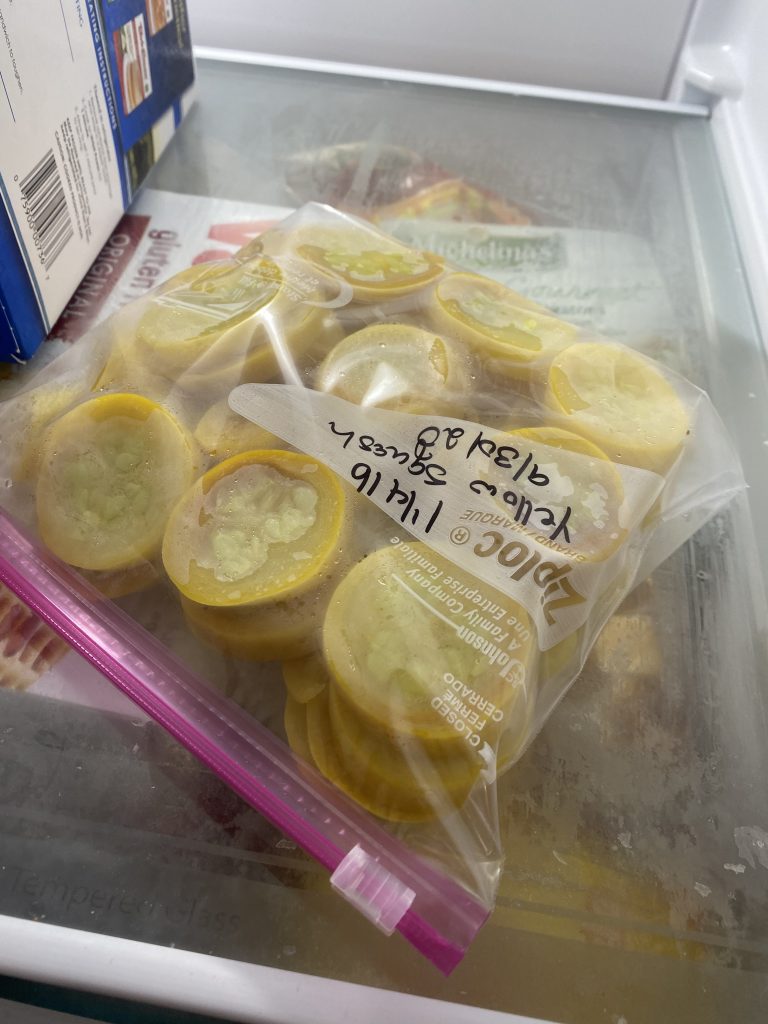
Put the cooled, dried squash in freezer bags – don’t overfill them! Lay the bags on a flat surface in the freezer. Don’t worry, once they’re frozen, you can move them around in the freezer to make room. Laying them flat to freeze will make them easier to store in the long run.
It’s as easy as that! Now you’ll have squash to use in your favorite skillet, sheet pan, and casserole recipes for up to a year!
Source: National Center for Home Food Preservation